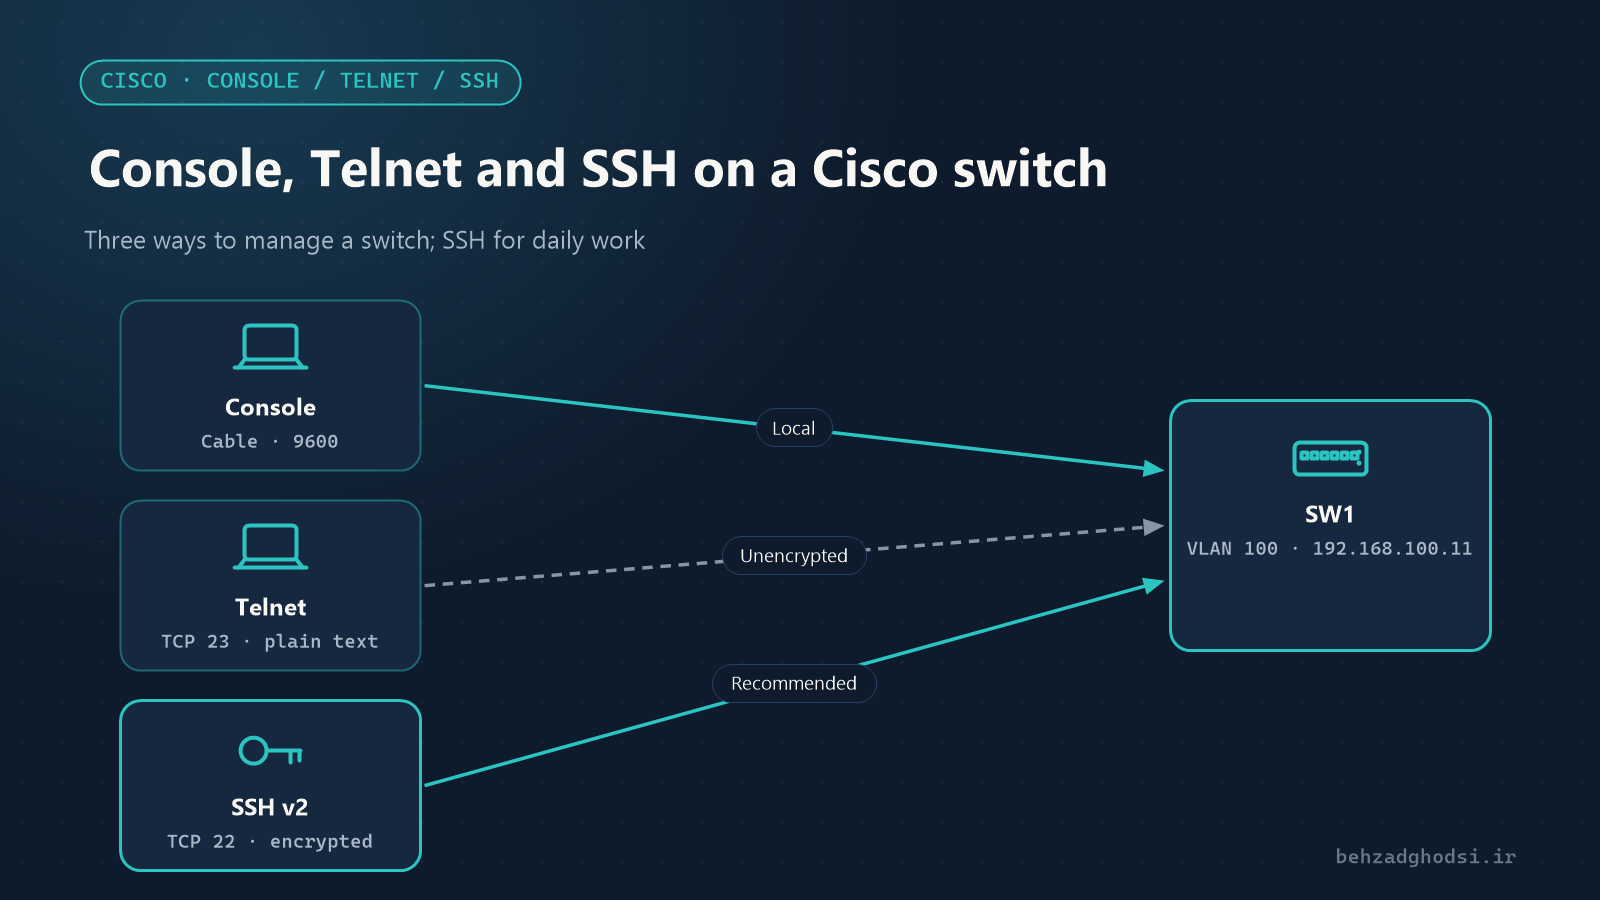
Every Cisco switch can be managed in three ways:
- Console: a direct cable to the switch; always available, even when the network is down.
- Telnet: remote, but unencrypted; passwords and commands cross the network as plain text.
- SSH: remote and encrypted; the standard, recommended method.
In this article we set up all three and close Telnet at the end.
Step 1: the console connection
Connect the console cable to the switch’s Console port and, in PuTTY or a similar program, open a Serial connection with these settings: speed 9600, 8 data bits, no parity, 1 stop bit and no flow control. On Windows, find the port number (such as COM3) in Device Manager.
Console line password and settings
Switch> enable
Switch# configure terminal
Switch(config)# hostname SW1
SW1(config)# enable secret Str0ng-Enable-Pass
SW1(config)# line console 0
SW1(config-line)# password C0nsole-Pass
SW1(config-line)# login
SW1(config-line)# exec-timeout 5 0
SW1(config-line)# logging synchronous
SW1(config-line)# exit
exec-timeout 5 0closes the session after five idle minutes, so a cable left plugged in does not leave an open session.logging synchronousstops system messages from breaking into the command you are typing.
Rather than one shared password, it is better to define users and protect the console with a user login too. We do that after creating a user in step 3.
Step 2: the management address
For remote access, the switch needs an IP address on a VLAN interface (SVI). It is best to have a separate management VLAN; VLAN 100 in this example:
SW1(config)# vlan 100
SW1(config-vlan)# name MGMT
SW1(config-vlan)# exit
SW1(config)# interface vlan 100
SW1(config-if)# ip address 192.168.100.11 255.255.255.0
SW1(config-if)# no shutdown
SW1(config-if)# exit
SW1(config)# ip default-gateway 192.168.100.1
VLAN 100 must be allowed on the trunk towards the core switch. On a layer 3 switch with ip routing enabled, use a default route (ip route 0.0.0.0 0.0.0.0 ...) instead of ip default-gateway.
Step 3: Telnet (for reference only)
Telnet is simple, but because it is unencrypted, only use it in a lab or a completely isolated network:
SW1(config)# line vty 0 15
SW1(config-line)# password Vty-Pass
SW1(config-line)# login
SW1(config-line)# transport input telnet
Without password and login on the vty lines, the switch refuses Telnet logins. In the next step we switch these lines over to SSH.
Step 4: SSH
Prerequisites
SSH only works on IOS images with cryptography (the IOS file name usually contains k9). Check the version with show version.
Generating the key and enabling SSH
SW1(config)# ip domain-name corp.local
SW1(config)# username admin privilege 15 secret Adm1n-Str0ng-Pass
SW1(config)# crypto key generate rsa modulus 2048
SW1(config)# ip ssh version 2
SW1(config)# ip ssh time-out 60
SW1(config)# ip ssh authentication-retries 3hostnameandip domain-nameare required to generate the RSA key; we set the hostname in step 1.- Keys smaller than 768 bits do not allow SSH version 2; 2048 bits is a safe choice.
- SSH version 1 has security weaknesses; always configure
ip ssh version 2.
vty lines for SSH only
SW1(config)# line vty 0 15
SW1(config-line)# no password
SW1(config-line)# login local
SW1(config-line)# transport input ssh
SW1(config-line)# exec-timeout 10 0
SW1(config-line)# exit
login localmeans logging in with a username and password defined on the switch.transport input sshmeans Telnet is no longer accepted.
Now protect the console with the same user:
SW1(config)# line console 0
SW1(config-line)# login local
Restricting access to the management network
Even with SSH, it is better if only the IT team’s computers can connect to the switch:
SW1(config)# access-list 10 permit 192.168.100.0 0.0.0.255
SW1(config)# line vty 0 15
SW1(config-line)# access-class 10 in
SW1(config-line)# end
SW1# copy running-config startup-config
Step 5: testing
SSH status on the switch:
SW1# show ip ssh
SW1# show ssh
show ip ssh should report SSH Enabled - version 2.0. From the management computer, connect with PuTTY (connection type SSH) or from the Windows or Linux command line:
ssh admin@192.168.100.11If it does not work
- The message
% Please define a domain-name first: setip domain-namebefore generating the key. - SSH connections are refused:
transport input sshorlogin localis missing on the vty lines, or the RSA key was not generated. - The switch address does not answer ping: the management VLAN interface is
shutdown, the VLAN is not allowed on the trunk, or the default gateway is wrong. - Old clients cannot connect: old IOS does not support newer algorithms; upgrade IOS rather than weakening the client’s security.
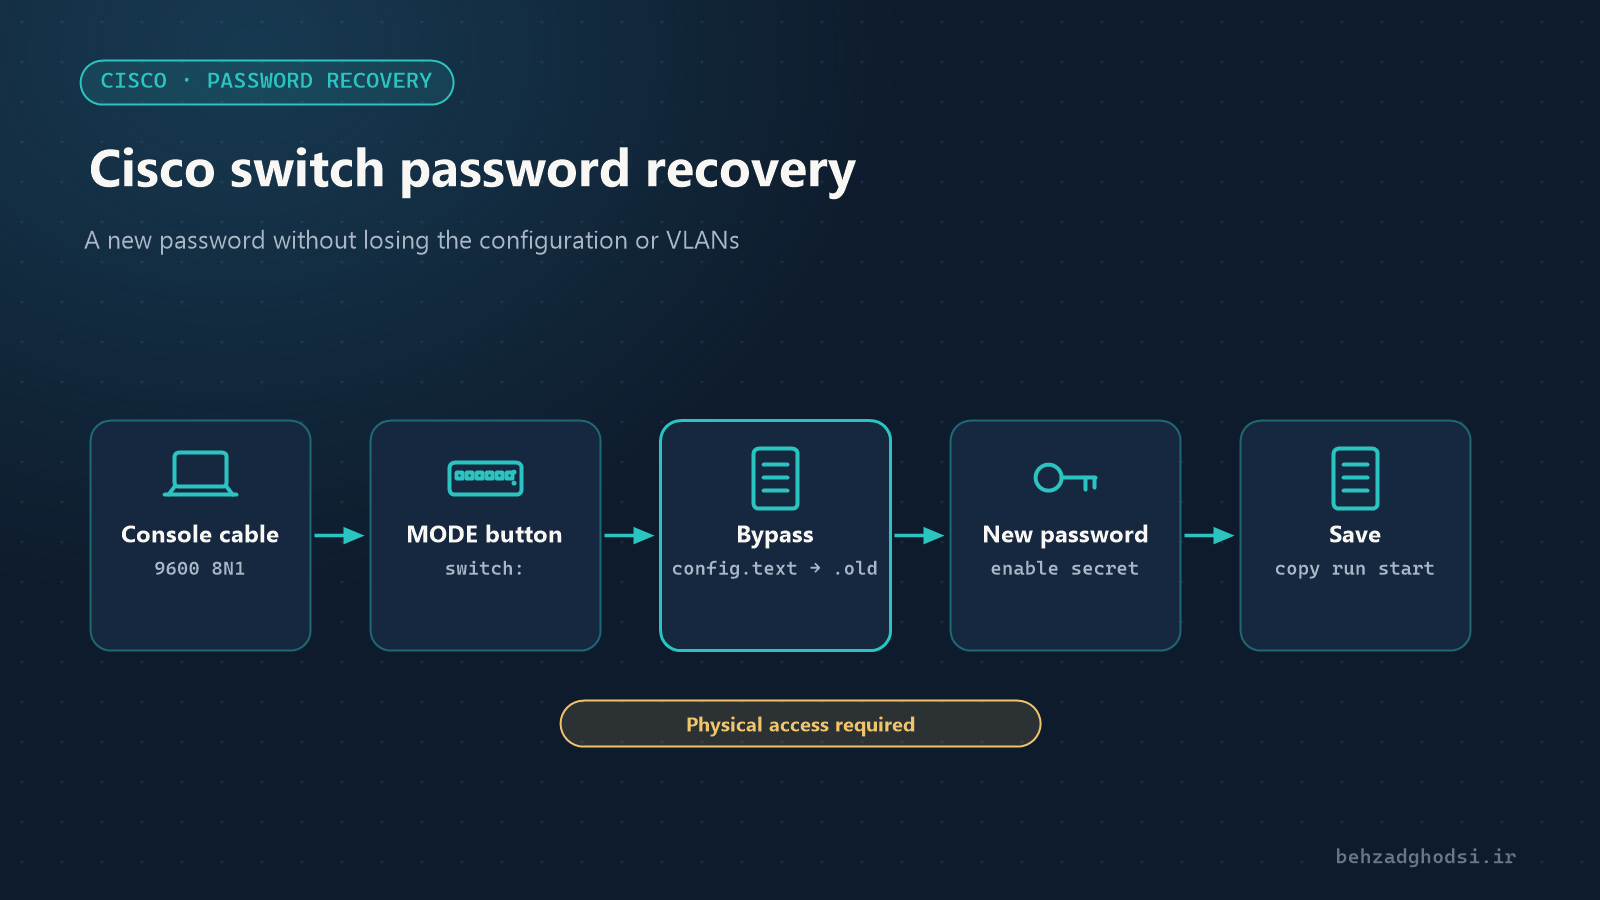
- You locked yourself out: you can still get in with the console cable. In the worst case, see Cisco switch password recovery.
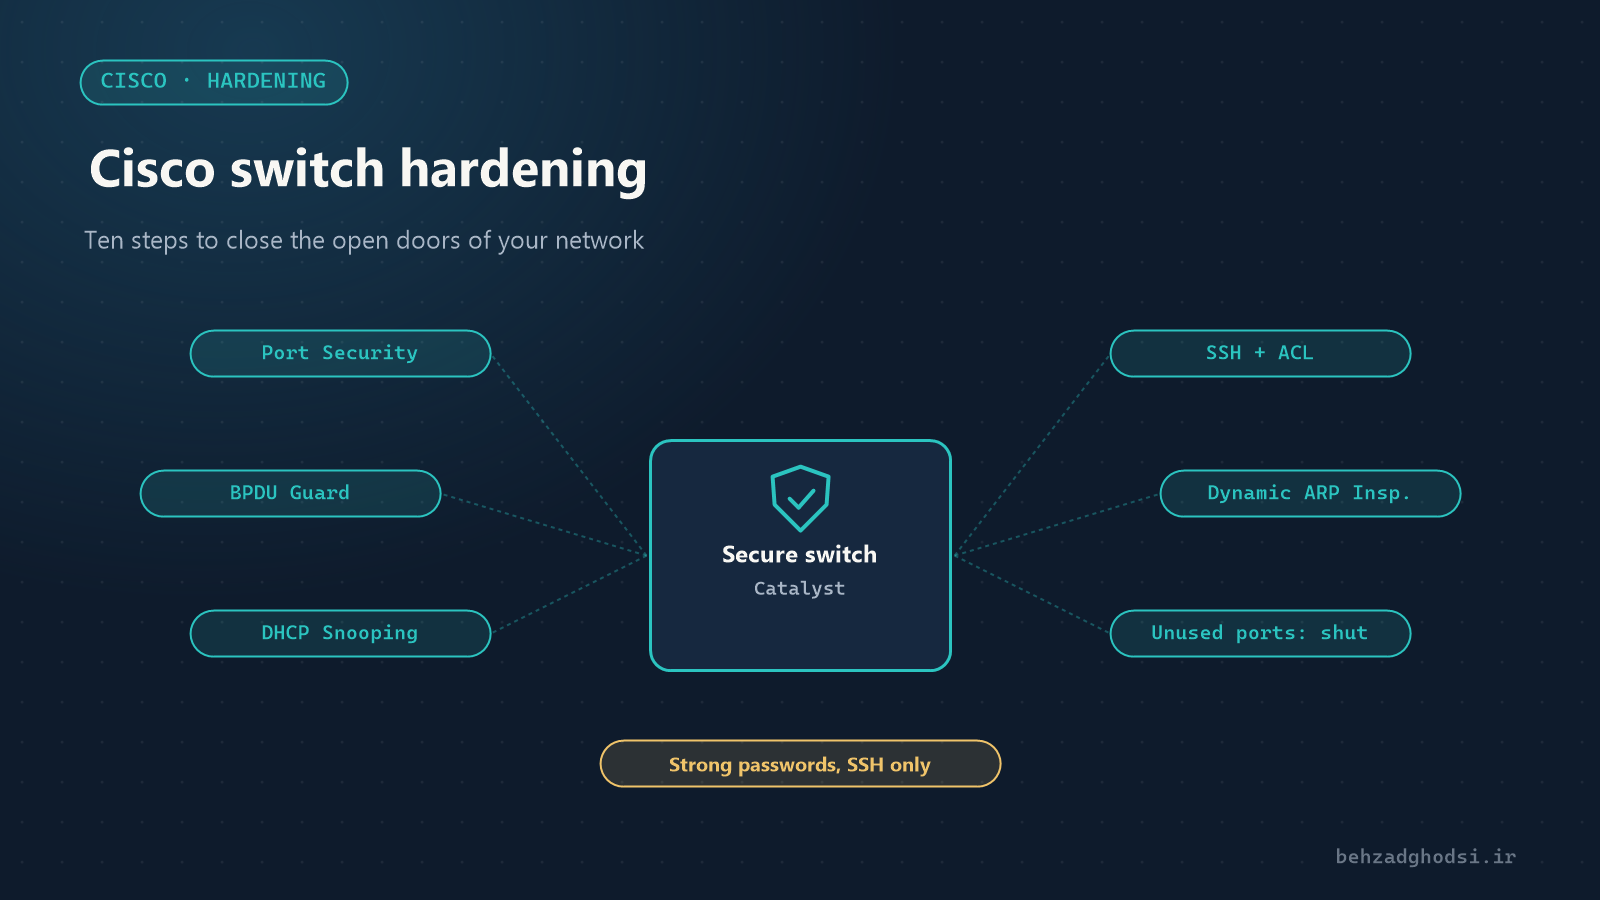
Console for the initial set-up and emergencies, SSH for daily management, and Telnet only for the lab. With a separate management VLAN, a local user, SSH version 2 and an access-class restriction, managing the switch is both easy and secure. For the next hardening steps, read Cisco switch hardening.