Most problems with MikroTik routers start on day one: ports used without a plan, an addressing scheme that clashes with another network, or the default user left with a simple password. This article shows a simple plan first, and then a proper initial set-up.
Step 1: plan on paper
Before connecting the router, decide on:
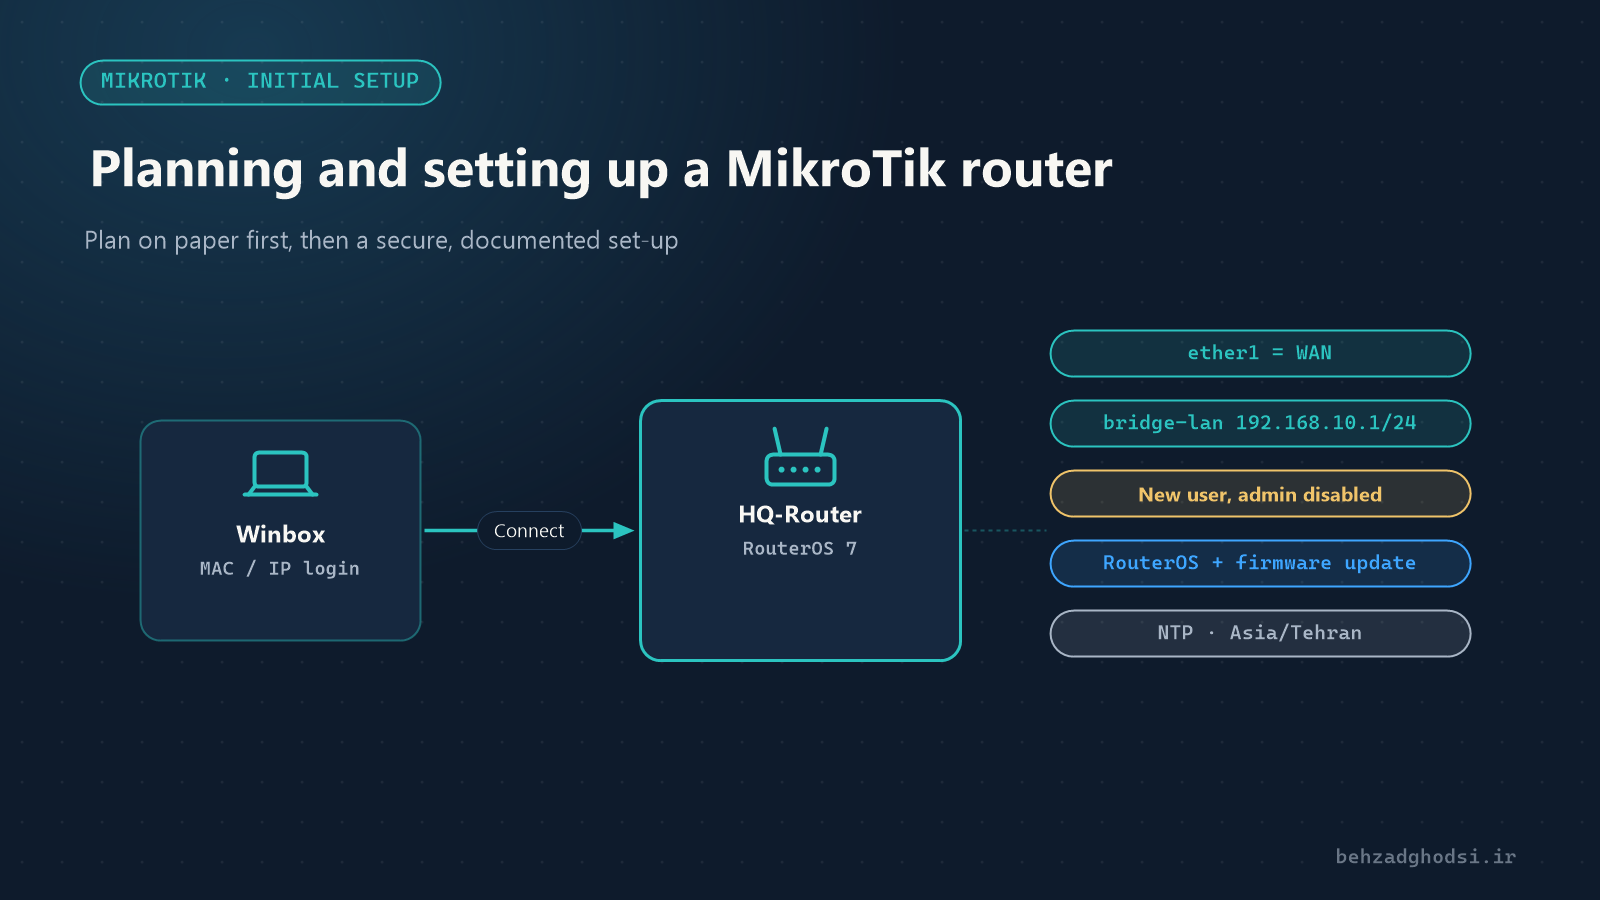
- The internet (WAN) port: usually
ether1. - The internal network (LAN) ports: for example
ether2toether5. - The internal network address: for example
192.168.10.0/24with the router at192.168.10.1. Avoid192.168.1.0/24and192.168.0.0/24, the defaults on most modems, so you do not get clashes later with VPNs and branch connections. - The DHCP range: for example
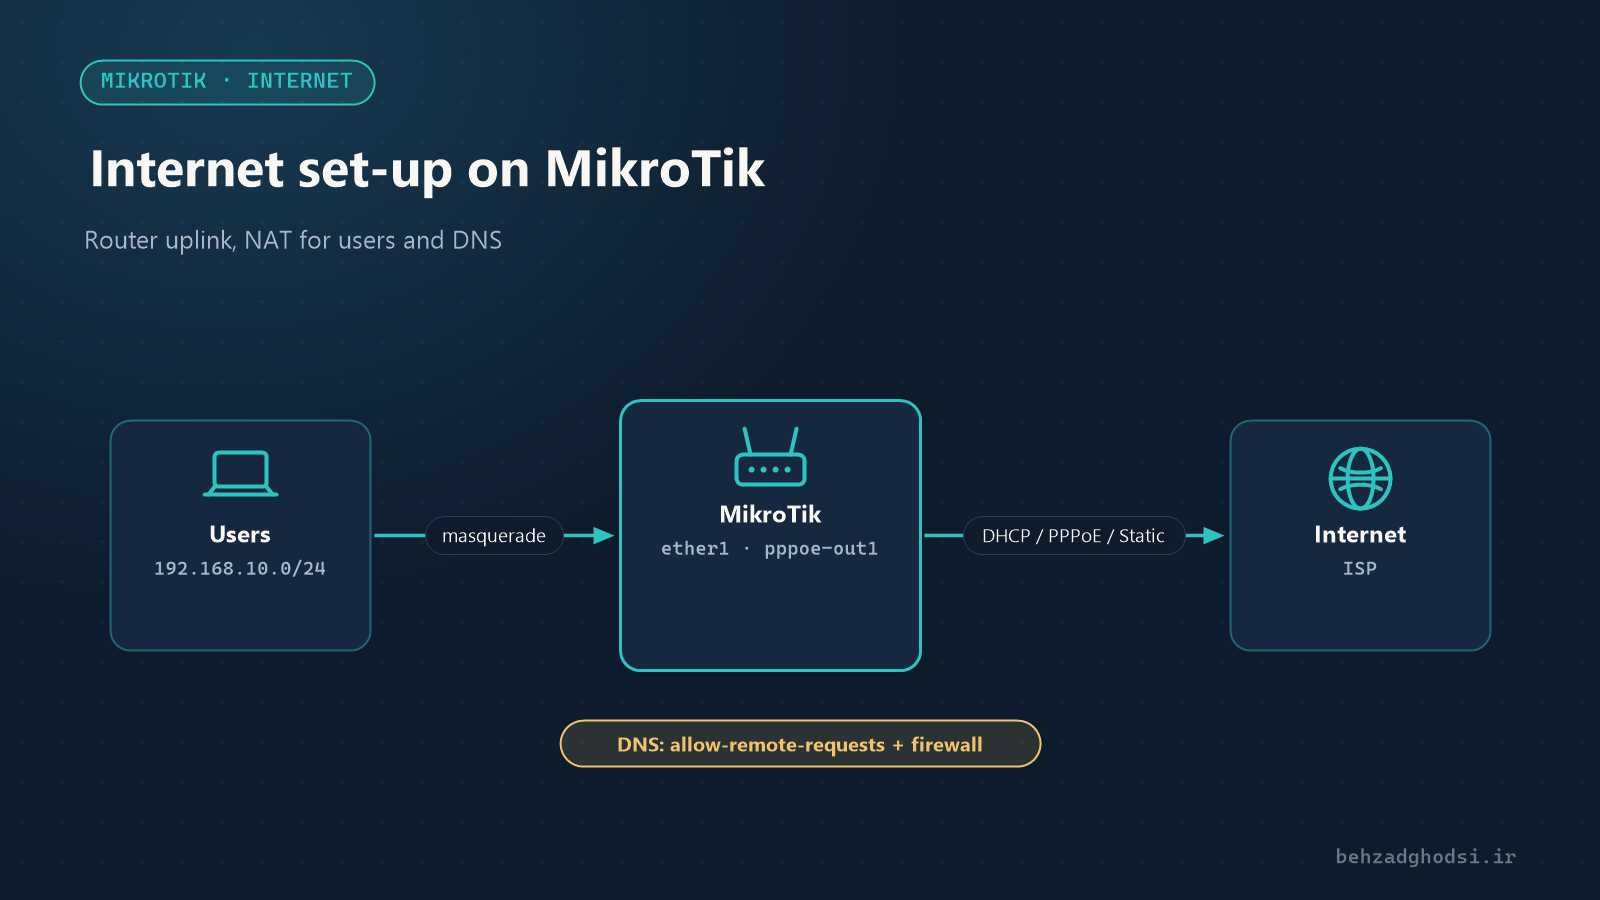
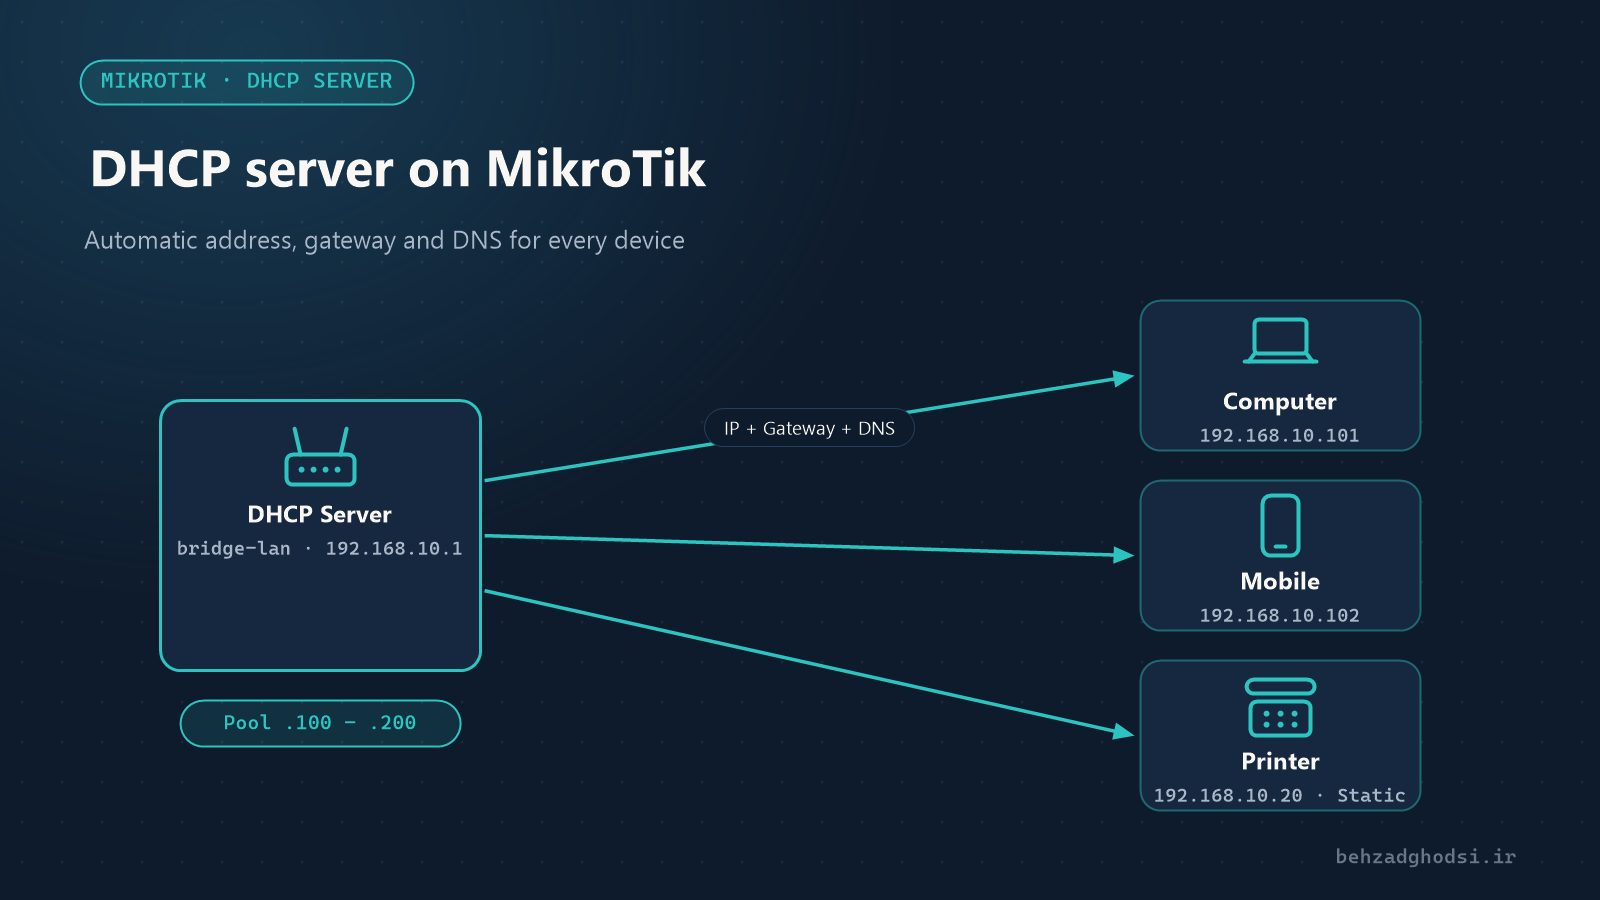
192.168.10.100to192.168.10.200. Keep the lower addresses for servers, printers and cameras with static IPs. - The type of internet connection: a modem with DHCP, PPPoE or a static IP?
- Who administers the router, and where they connect from.
Step 2: connecting to the router
MikroTik’s main management tool is Winbox. Download it from MikroTik’s official website. Connect your computer to one of the LAN ports (not ether1).
In Winbox, the Neighbors tab lists the routers on the network. You can connect by MAC address, even if the router has no IP yet. On routers with the default configuration, the router’s address is 192.168.88.1.
The default username is admin. On newer devices the default password is printed on the device label; on older devices it is empty.
Step 3: keep the default configuration or not?
On most home and office models MikroTik ships a Default Configuration that makes ether1 the WAN, puts the other ports in a bridge and sets up a basic firewall and NAT. You have two options:
- Keep it and adapt it: good for a quick start and small offices; its default firewall is sound.
- Wipe it and start from scratch: for those who want to understand and control every setting. In that case, do not connect the router to the internet until the firewall is configured.
To wipe the configuration completely:
/system reset-configuration no-defaults=yes skip-backup=yesAfter this command the router has no IP address at all and you connect to it in Winbox by MAC address only.
Step 4: user and password
The first job is to create a new admin user and disable admin:
/user add name=netadmin group=full password="Str0ng-Pass-2026"
/user disable admin
Log in with the new user first and make sure it works, then disable admin.
Step 5: name and clock
/system identity set name=HQ-Router
/system clock set time-zone-name=Europe/London
/system ntp client set enabled=yes servers=pool.ntp.org
Use your own time zone. An accurate clock is essential for logs, the scheduler and VPN certificates.
Step 6: update RouterOS and the firmware
/system package update check-for-updates
/system package update install
The router restarts after the installation. Then update the RouterBOARD firmware too and restart once more:
/system routerboard upgrade
/system reboot
Step 7: a bridge for the internal network
If you started from scratch, put the LAN ports in a bridge so they work like a switch:
/interface bridge add name=bridge-lan
/interface bridge port add bridge=bridge-lan interface=ether2
/interface bridge port add bridge=bridge-lan interface=ether3
/interface bridge port add bridge=bridge-lan interface=ether4
/interface bridge port add bridge=bridge-lan interface=ether5
/ip address add address=192.168.10.1/24 interface=bridge-lan
To make the firewall easier to manage, create WAN and LAN interface lists:
/interface list add name=WAN
/interface list add name=LAN
/interface list member add list=WAN interface=ether1
/interface list member add list=LAN interface=bridge-lan
In the following articles we write the firewall and NAT rules using these lists.
Step 8: label the ports and document
Give each port a comment so that months later you know where every cable goes:
/interface ethernet set ether1 comment="WAN - Modem"
/interface ethernet set ether2 comment="LAN - Switch Floor 1"
A proper MikroTik set-up starts with planning: ports, addresses and the internet connection type. Then a secure user, updates, the clock and the internal bridge. In the next article we look at internet set-up on a MikroTik router.