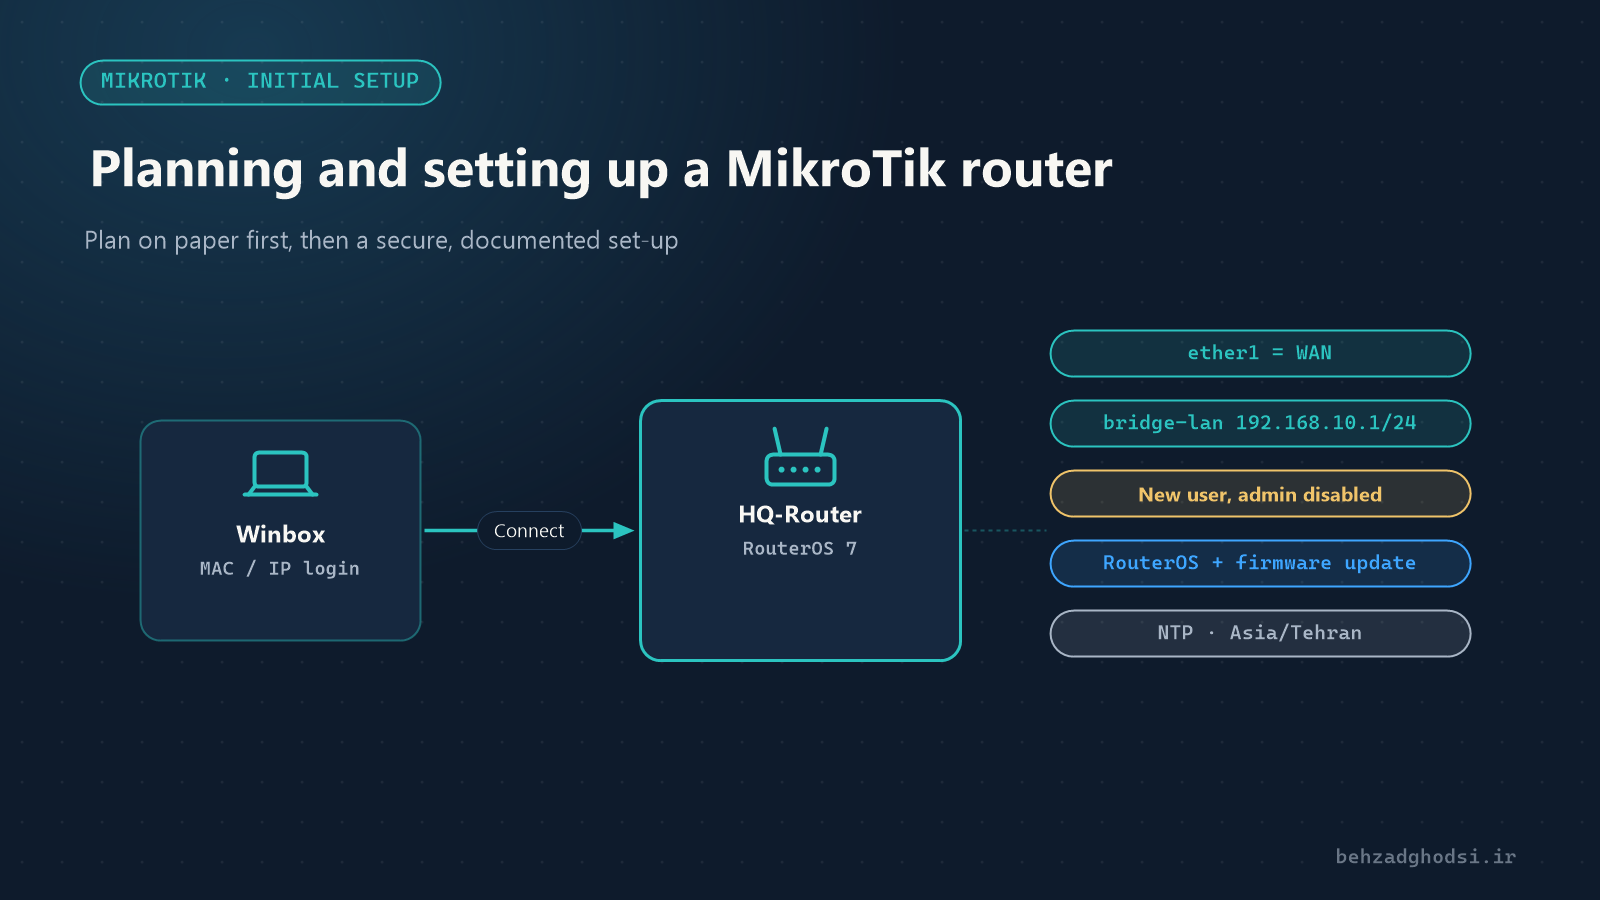
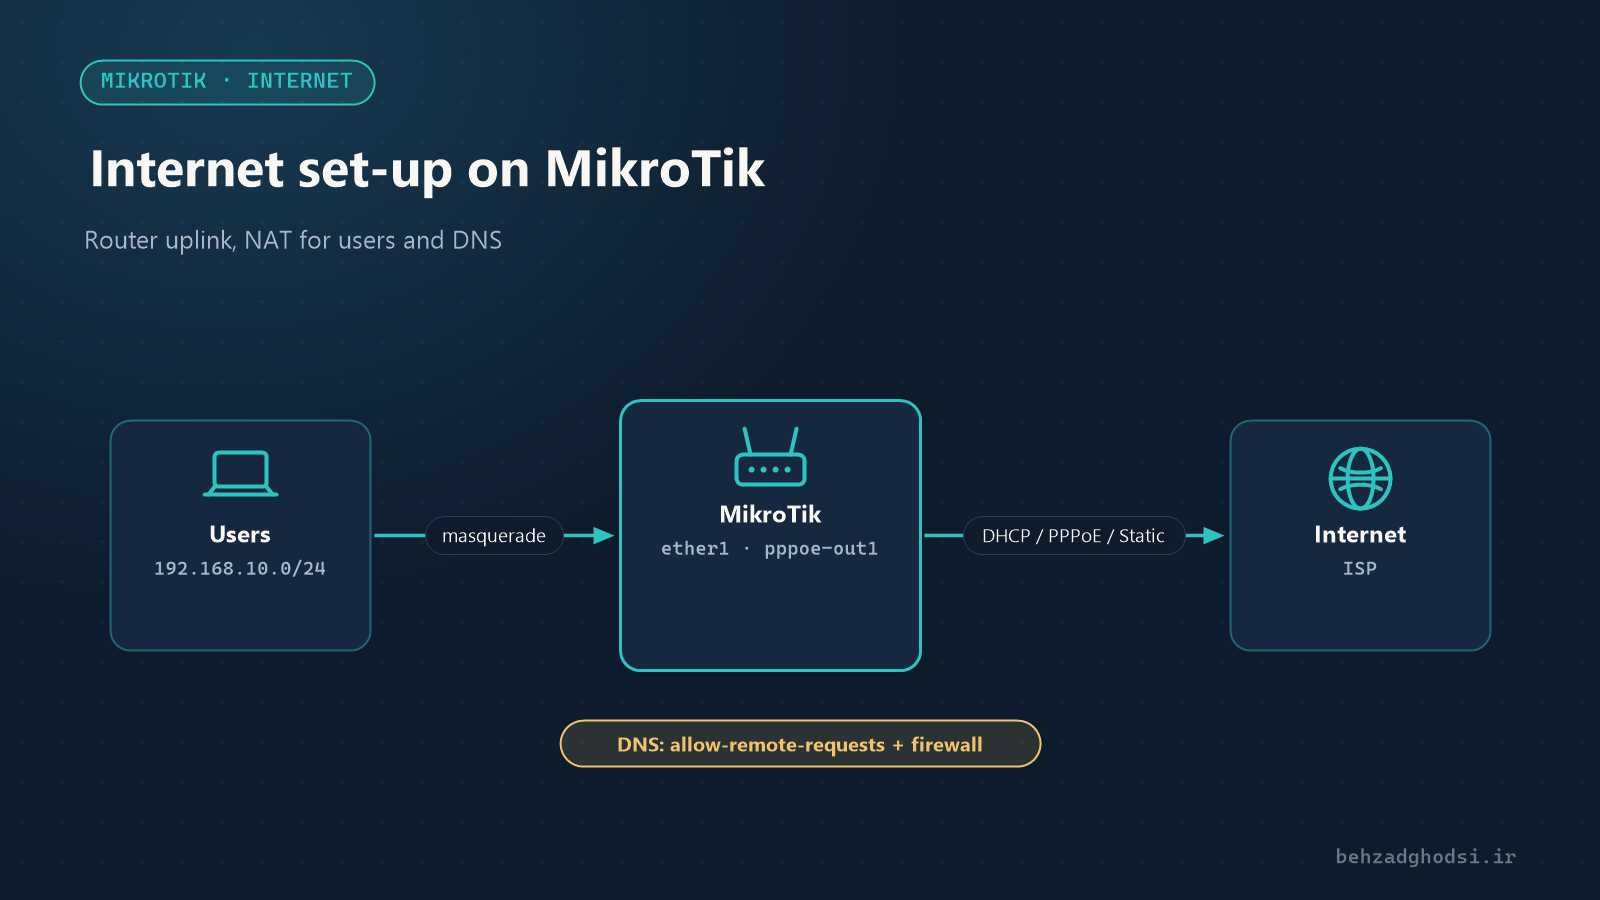
For network users to reach the internet through a MikroTik router, three things are needed: the router itself must be online, users’ traffic must be NATed and DNS must work. This article assumes the internet port is ether1 and the internal network is on bridge-lan with the address 192.168.10.1/24 (see the initial set-up article).
Which connection method?
- Modem in router mode (DHCP): the modem brings up the internet connection and gives the MikroTik an IP. It is the simplest method, but you have two layers of NAT, and for access from outside you must also set up port forwarding on the modem.
- PPPoE: the ADSL or VDSL modem is put in bridge mode and the MikroTik itself connects with the provider’s username and password. You have full control on the MikroTik, and a public IP (if you have one) lands directly on the router. This is the recommended method.
- Static IP: on dedicated and fibre connections, the provider gives you a fixed address, gateway and DNS.
Method 1: DHCP client behind a modem
/ip dhcp-client add interface=ether1 use-peer-dns=yes add-default-route=yes disabled=noCheck the status:
/ip dhcp-client printIf the status is bound and an address has been assigned, the connection is up. The modem’s network address must not be the same as your internal network.
Method 2: PPPoE
First put the modem into bridge mode from its own panel; how you do this differs per model. Then on the MikroTik:
/interface pppoe-client add name=pppoe-out1 interface=ether1 user="username@isp" password="Your-Pass" add-default-route=yes use-peer-dns=yes disabled=noWith this method your internet interface is pppoe-out1, not ether1. Add it to the WAN list:
/interface list member add list=WAN interface=pppoe-out1Check the status:
/interface pppoe-client monitor pppoe-out1connected means the link is up. If it does not connect, check the username and password with your provider and make sure the modem really is in bridge mode.
Method 3: static IP
/ip address add address=203.0.113.10/29 interface=ether1
/ip route add dst-address=0.0.0.0/0 gateway=203.0.113.9
/ip dns set servers=8.8.8.8,1.1.1.1
Replace the addresses with the values your provider gave you.
NAT: internet for internal users
The router itself is now online, but users cannot go straight to the internet with their private addresses. With masquerade, their address is translated to the router’s address:
/ip firewall nat add chain=srcnat out-interface-list=WAN action=masquerade comment="Internet for LAN"If you do not have a WAN list, use out-interface=ether1 or out-interface=pppoe-out1 instead of out-interface-list=WAN. NAT types are covered in detail in NAT types on MikroTik.
DNS
The router can act as the DNS server for internal users and cache the answers:
/ip dns set allow-remote-requests=yesIf you do not receive DNS from the provider, set the servers manually:
/ip dns set servers=8.8.8.8,1.1.1.1 allow-remote-requests=yesImportant warning: with allow-remote-requests=yes you must block DNS requests from the internet in the firewall; otherwise your router becomes an open DNS resolver that is abused in DDoS attacks. MikroTik’s default firewall does this. If you started from scratch, see Network security with MikroTik.
Checking the connection
From the router itself:
/ping 8.8.8.8 count=4
/ping google.com count=4- If
8.8.8.8answers butgoogle.comdoes not, the problem is DNS. - If neither answers, look at the default route:
/ip route print where dst-address=0.0.0.0/0Test from an internal computer too. If the router is online but the computers are not, check NAT and the computers’ gateway and DNS.
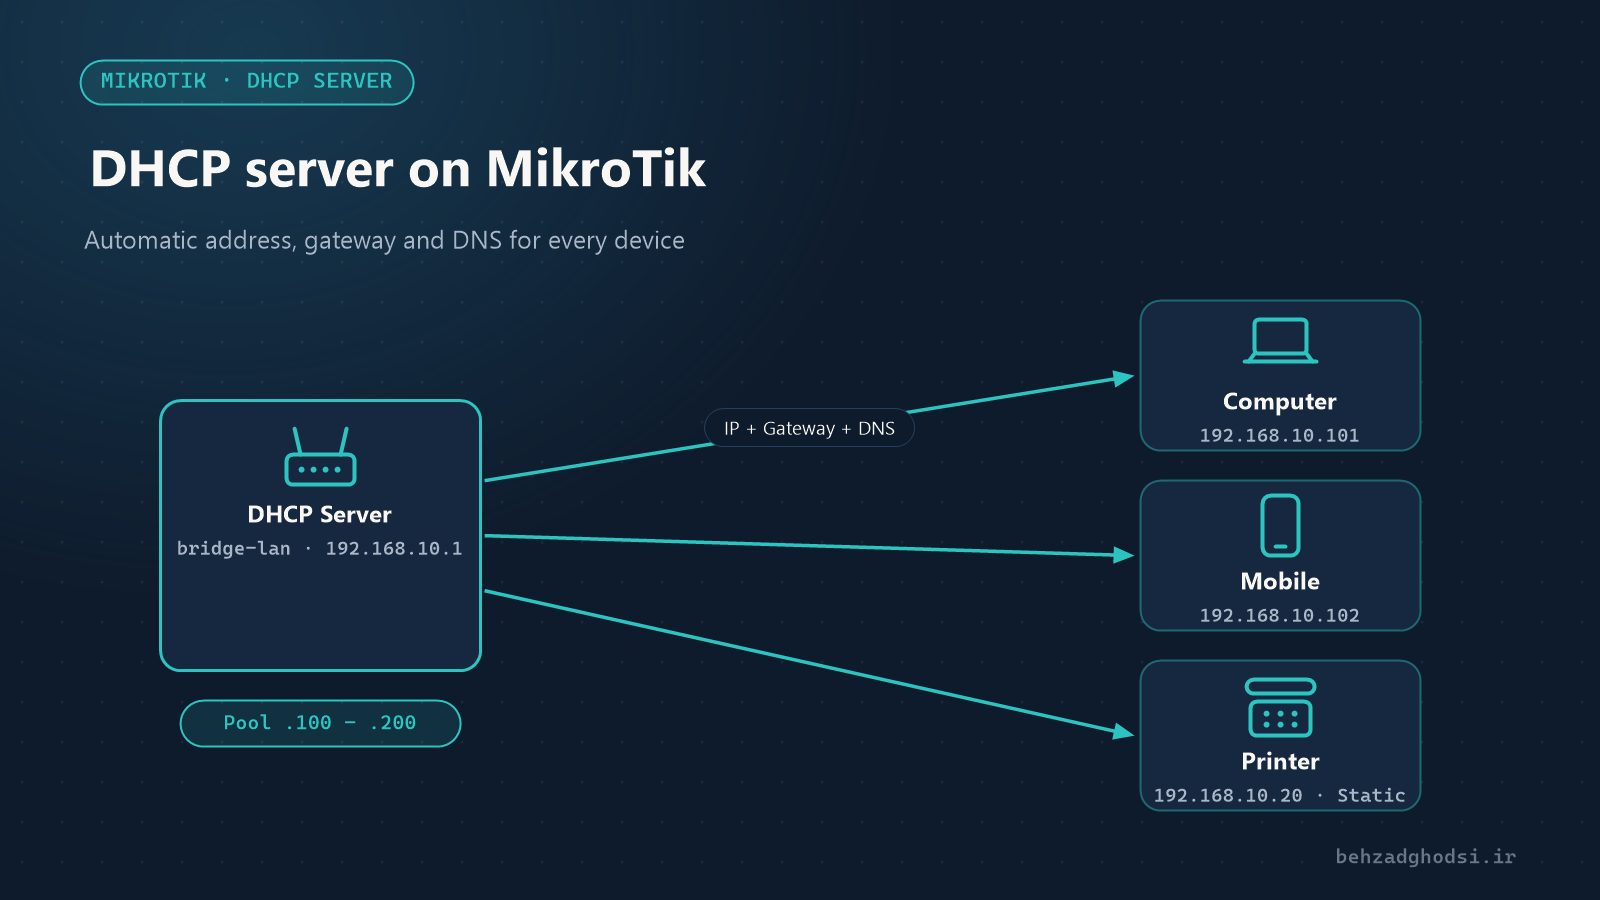
A MikroTik internet connection has three parts: the router’s own connection (DHCP, PPPoE or static IP), NAT for users, and DNS. In serious offices, PPPoE with the modem in bridge mode gives more control. The next step is setting up a DHCP server so computers get their addresses automatically.