A MikroTik router is often the only device standing between a company network and the internet. If that router can be broken into, the firewall and antivirus behind it won't help much. In recent years thousands of MikroTik routers that hadn't been updated or had weak passwords were pulled into large botnets such as Meris, usually without their owners noticing.
The good news is that hardening a MikroTik isn't complicated. A few correct settings neutralise most common attacks. This article first gives you the full list of tasks, then explains each one with ready-to-use commands.
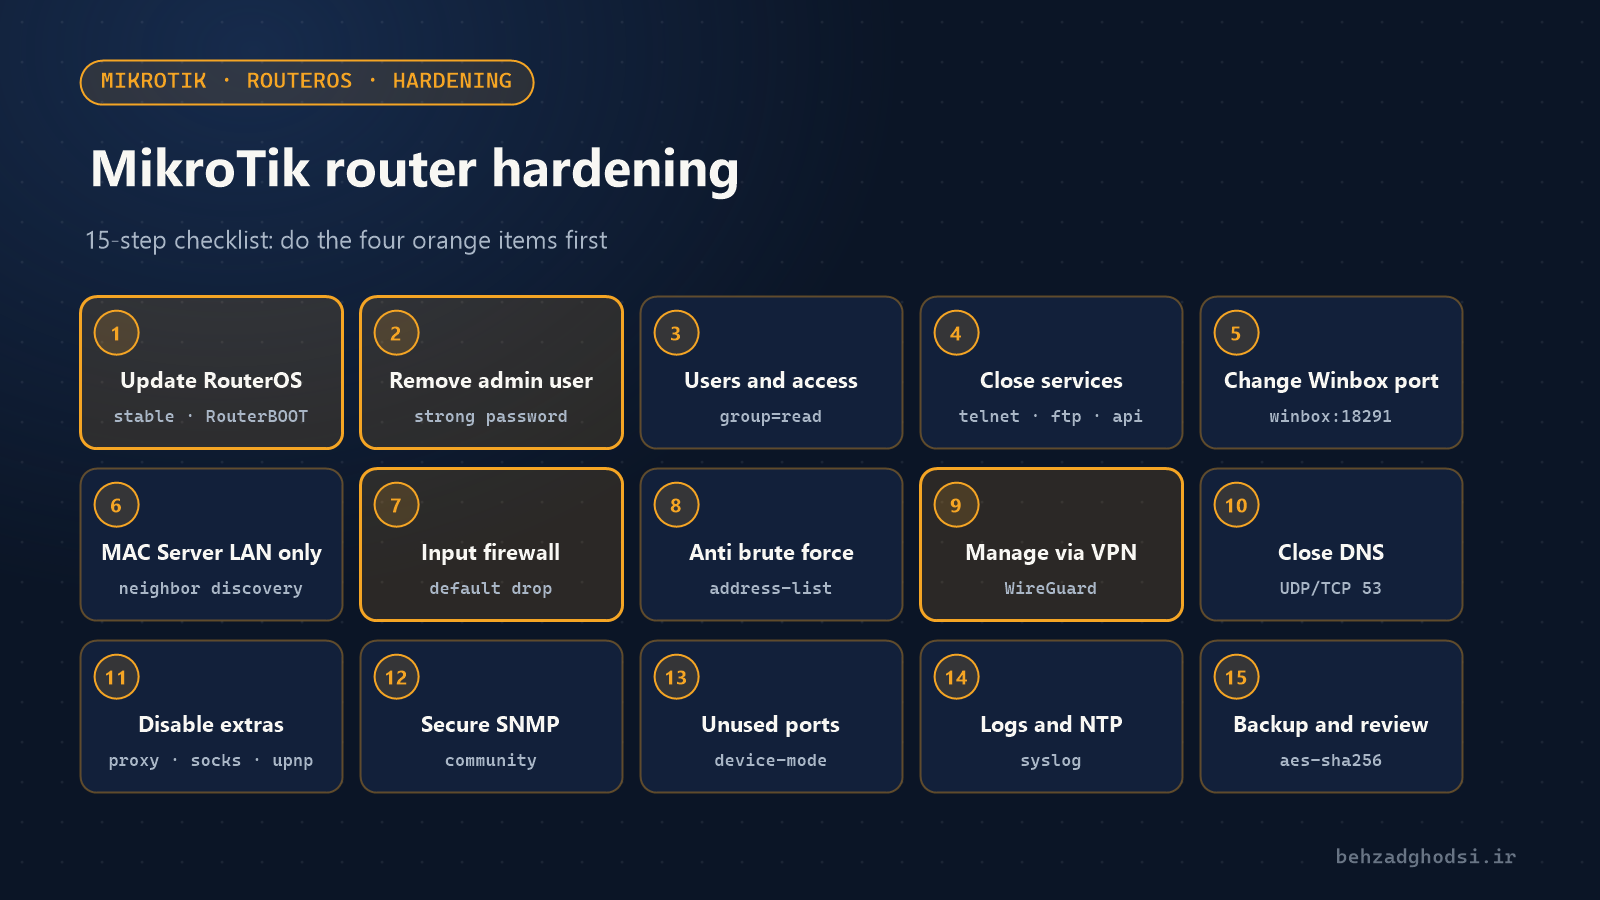
The MikroTik hardening checklist at a glance
- Update RouterOS and RouterBOOT.
- Remove the admin user and set a strong password.
- Create a separate user with the right access level for each person.
- Disable unused services (Telnet, FTP, Web, API).
- Restrict Winbox and SSH to internal addresses and change their ports.
- Keep MAC Server and Neighbor Discovery enabled only on the LAN.
- Set up the input firewall with a default-drop policy.
- Block brute-force attacks.
- Manage the router from outside only over VPN.
- Close DNS to the internet.
- Disable extra features such as Proxy, SOCKS, UPnP and Bandwidth Test.
- Secure or disable SNMP.
- Disable unused ports and check Device Mode.
- Set up the clock, logging and sending logs to a server.
- Take encrypted backups and review the router regularly.
Before you start: make firewall and service changes in Winbox Safe Mode (the Safe Mode button at the top of the window, or Ctrl+X in the terminal). If you lose access, the router rolls the changes back automatically.
1. Update RouterOS and RouterBOOT
Updating is the single most important step in MikroTik security. Most large-scale MikroTik compromises, such as the well-known 2018 Winbox vulnerability, hit versions that had been patched long before. Keep the router on the stable or long-term channel:
/system package update set channel=stable
/system package update check-for-updates
/system package update install
After the reboot, update the board firmware (RouterBOOT) too and reboot again:
/system routerboard upgrade
/system reboot
2. Remove the admin user and use a strong password
Bots try the username admin first. Create a user with a different name and a strong password, log in with it, then disable admin:
/user add name=netadmin group=full password="long-random-password"
/user disable admin
Use a random password of at least 16 characters and keep it in a password manager.
3. A separate user for each person, with the right access level
Don't let everyone log in with one shared user; with separate users the log shows who changed what. For someone who only needs to view status, the read group is enough:
/user add name=support group=read password="..."
/user add name=netadmin2 group=full password="..." address=192.168.88.0/24
The address parameter allows that user to log in only from that range.
4. Disable unused services
By default MikroTik leaves several management services open. Telnet and FTP send passwords unencrypted and are almost never needed:
/ip service print
/ip service disable telnet,ftp,www,api,api-ssl
If you need the web panel, use www-ssl with a certificate instead of www.
5. Restrict and change the Winbox and SSH ports
Make Winbox and SSH reachable only from the internal or management network. Changing the Winbox port and the SSH port stops bots that only scan the default ports and keeps the log clean, but it doesn't replace the firewall:
/ip service set winbox address=192.168.88.0/24 port=18291
/ip service set ssh address=192.168.88.0/24 port=2222
/ip ssh set strong-crypto=yes
After changing the port, enter the address in Winbox as 192.168.88.1:18291.
6. MAC Server and Neighbor Discovery on the LAN only
MAC-Winbox lets anyone connect to the router even without an IP, and Neighbor Discovery announces the router's model and version to everyone. Restrict both to the LAN list:
/tool mac-server set allowed-interface-list=LAN
/tool mac-server mac-winbox set allowed-interface-list=LAN
/tool mac-server ping set enabled=no
/ip neighbor discovery-settings set discover-interface-list=LAN
Make sure the internal ports are in the LAN list and the internet port is in the WAN list: /interface list member print.
7. The input firewall with a drop policy
The input chain protects the router itself. The golden rule: explicitly accept what is needed and drop everything else:
/ip firewall filter
add chain=input connection-state=established,related,untracked action=accept comment="accept established"
add chain=input connection-state=invalid action=drop comment="drop invalid"
add chain=input protocol=icmp action=accept comment="accept ICMP"
add chain=input in-interface-list=LAN action=accept comment="accept LAN"
add chain=input action=drop comment="drop all else"
Rule order matters; the last rule must really be last. To protect the internal network (the forward chain) and isolate a guest network, see MikroTik network security.
8. Block brute-force attacks
If you have to leave a service such as SSH open to the outside, block addresses that make repeated failed attempts using a few staged address lists. Place these rules above the drop all else rule:
/ip firewall filter
add chain=input protocol=tcp dst-port=2222 src-address-list=ssh_blacklist action=drop comment="drop SSH brute force"
add chain=input protocol=tcp dst-port=2222 connection-state=new src-address-list=ssh_stage3 action=add-src-to-address-list address-list=ssh_blacklist address-list-timeout=1d
add chain=input protocol=tcp dst-port=2222 connection-state=new src-address-list=ssh_stage2 action=add-src-to-address-list address-list=ssh_stage3 address-list-timeout=1m
add chain=input protocol=tcp dst-port=2222 connection-state=new src-address-list=ssh_stage1 action=add-src-to-address-list address-list=ssh_stage2 address-list-timeout=1m
add chain=input protocol=tcp dst-port=2222 connection-state=new action=add-src-to-address-list address-list=ssh_stage1 address-list-timeout=1m
add chain=input protocol=tcp dst-port=2222 connection-state=new action=accept comment="allow SSH"
The last rule opens SSH itself; without it, the drop all else rule blocks everyone. An address that makes four new connections within a few minutes is blocked for a day. List the blocked addresses with /ip firewall address-list print where list=ssh_blacklist.
9. Remote management only over VPN
The best way to stop attacks on Winbox is for it not to be visible from the internet at all. For management from outside, set up a WireGuard VPN and connect to Winbox only through the tunnel. The only port open on WAN is then WireGuard's UDP port. I cover the full setup in remote access to MikroTik devices.
10. Close DNS to the internet
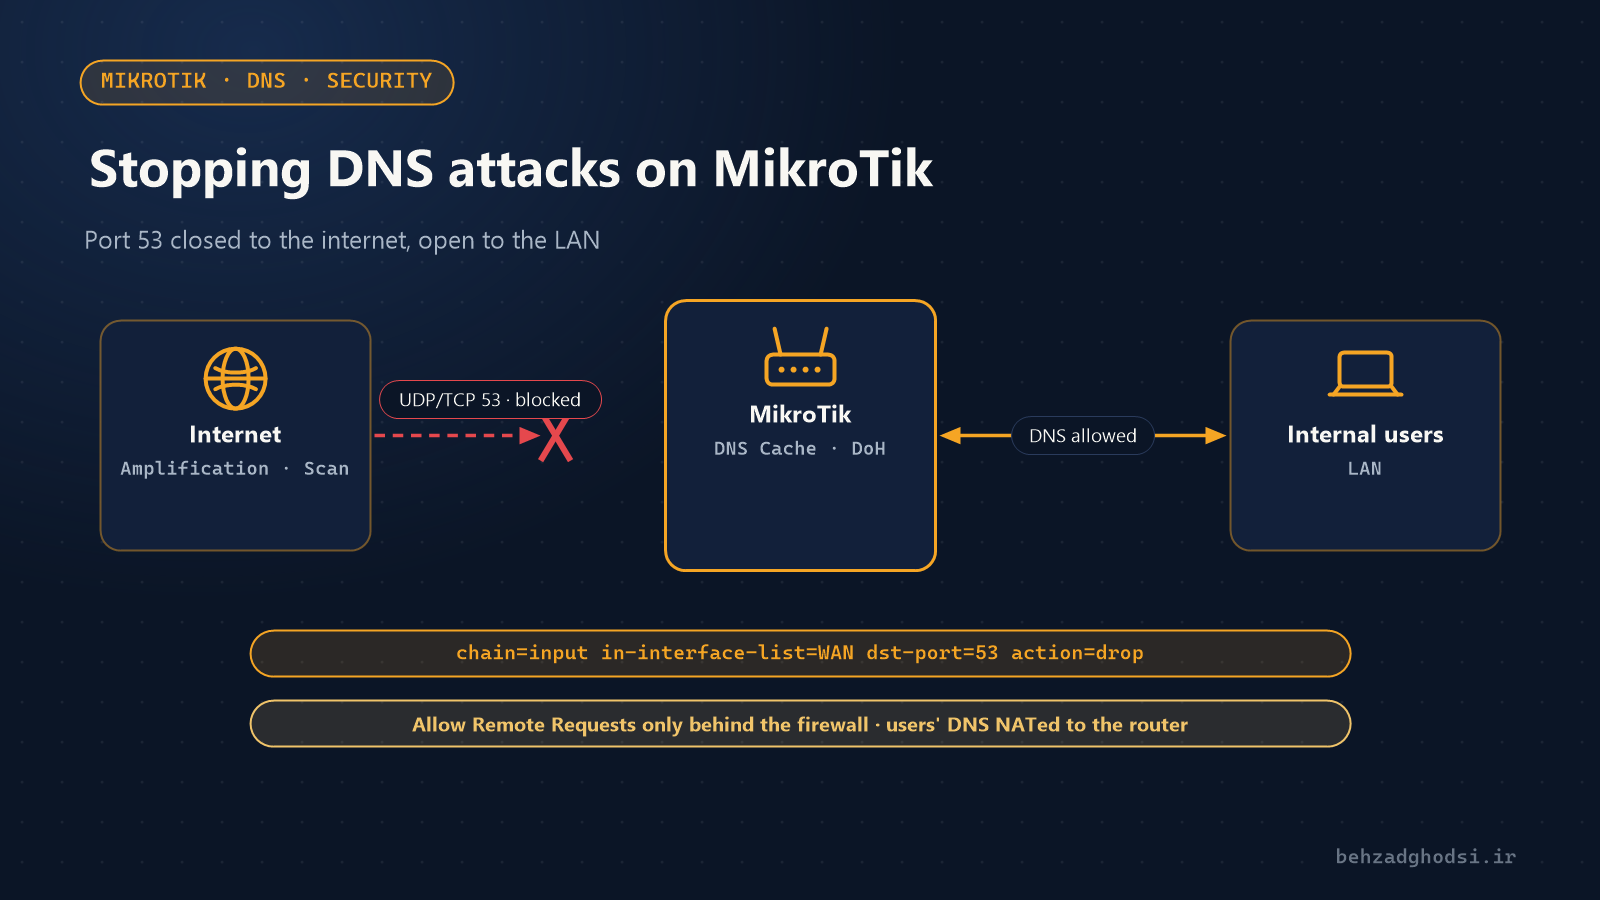
If Allow Remote Requests is enabled for DNS, close port 53 on the WAN side; otherwise your router becomes a tool for DNS amplification attacks. The input firewall from step 7 already closes this port. The full explanation and other measures are in protecting MikroTik from DNS attacks.
11. Disable extra features
Every feature you don't use is one more open door. Open Proxy and SOCKS have been among the most common ways hacked routers are abused:
/ip proxy set enabled=no
/ip socks set enabled=no
/ip upnp set enabled=no
/tool bandwidth-server set enabled=no
/tool romon set enabled=no
If you don't use IP Cloud and DDNS: /ip cloud set ddns-enabled=no.
12. Secure SNMP
If you have no monitoring system, disable SNMP. If you do, change the default public community and allow only the monitoring server's address:
/snmp set enabled=noOr:
/snmp community set [find default=yes] name=mon-7Kq2 addresses=192.168.88.20/32
/snmp set enabled=yes
13. Unused ports and Device Mode
Disable empty ports so nobody can join the network just by plugging in a cable:
/interface ethernet disable ether5,ether6In recent RouterOS 7 versions, Device Mode restricts sensitive features such as Scheduler, Fetch, Proxy and SOCKS, and changing it requires physical access to the router. Check its status with /system device-mode print and keep open only the features you really need.
14. Clock, logging and sending logs to a server
A log with the wrong time is useless when investigating an incident. Enable NTP and send login logs to a syslog server, so an attacker who compromises the router can't erase the trail:
/system ntp client set enabled=yes
/system ntp client servers add address=pool.ntp.org
/system logging action add name=syslog target=remote remote=192.168.88.20
/system logging add topics=account action=syslog
/system logging add topics=critical action=syslog
View failed logins with /log print where topics~"account".
15. Encrypted backups and regular reviews
Take both an encrypted binary backup and a text export of the configuration, and keep a copy off the router:
/system backup save name=router-2026 password="..." encryption=aes-sha256
/export file=router-2026
Check these once a month; anything unknown is a sign of compromise:
/user print
/user active print
/system scheduler print
/system script print
/ip dns static print
/file print
I've covered the full backup and restore process in backing up MikroTik.
Summary
If you're short on time, start with these four: update RouterOS, replace the admin user with a new user and a strong password, set up the input firewall with a drop policy and close Winbox to the internet. Those four alone take your router out of reach of most automated attacks. The rest of this checklist completes your MikroTik security.
If you'd like your routers and network firewall reviewed, get in touch.