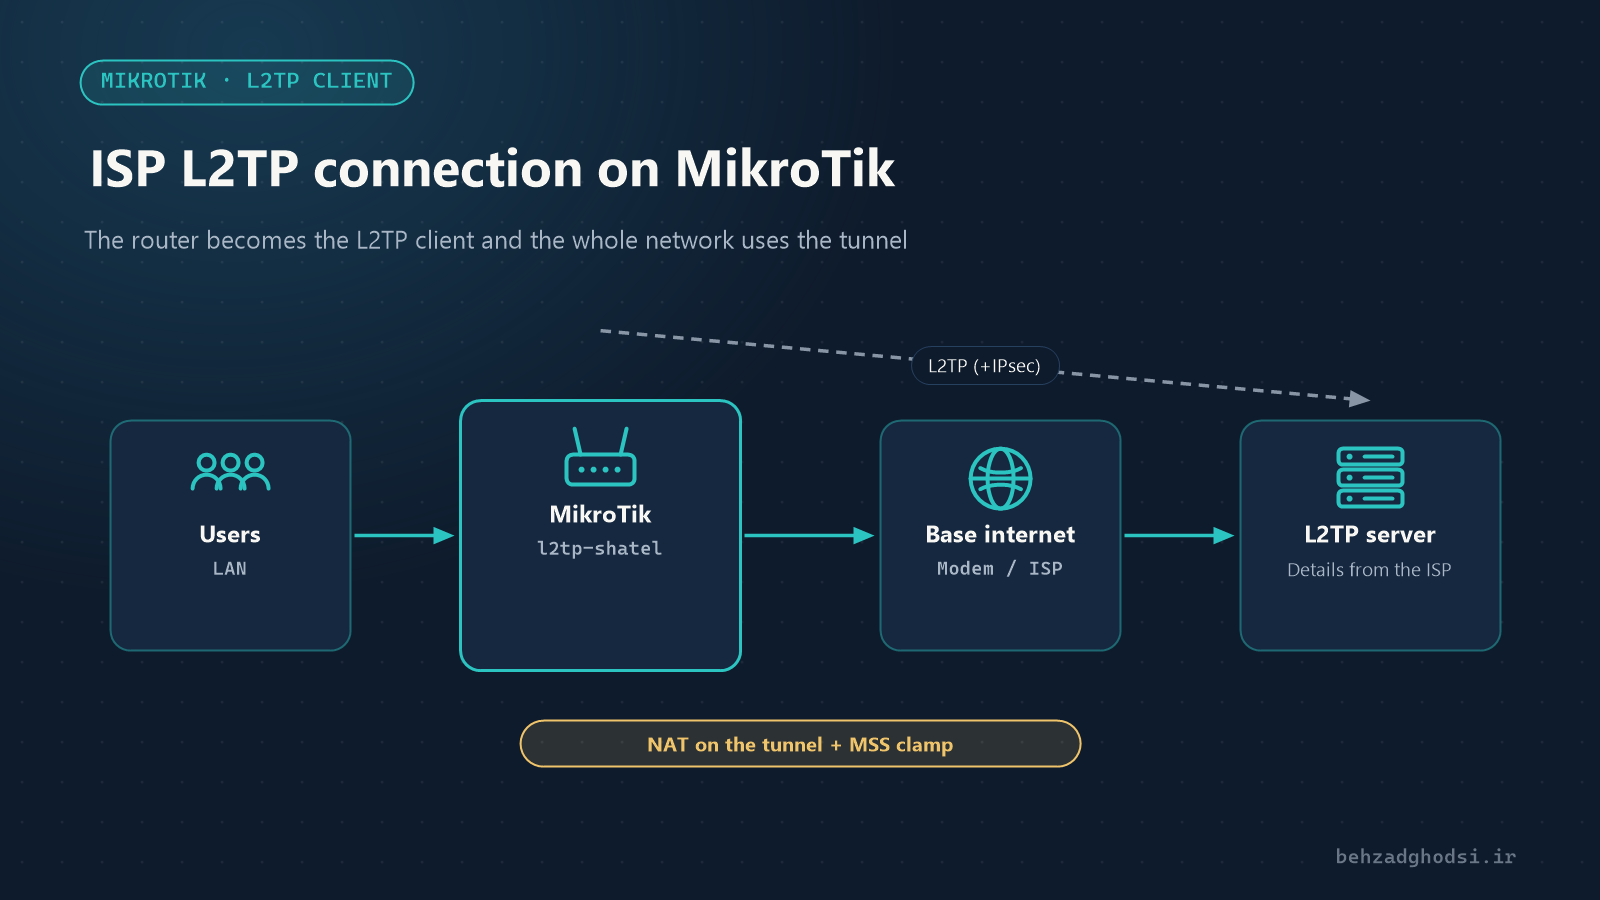
Some internet and connectivity services, such as certain services from Shatel, an Iranian ISP, are delivered not directly on the line but over an L2TP connection running across the internet or another network. Instead of creating an L2TP connection on every computer, you can make the MikroTik router the L2TP client so the whole network uses it.
What you need from your provider
Before you start, get these values from your provider’s customer panel or support. They are specific to each service; this article uses sample values:
- The L2TP server address (domain name or IP)
- The username and password for the service
- Is IPsec required? If so, the pre-shared key (IPsec secret)
- Should the service carry all internet traffic, or does it only give access to a specific network?
The examples use these sample values:
- Server address:
l2tp.example-isp.ir - Username:
user123
Prerequisite: a base internet connection
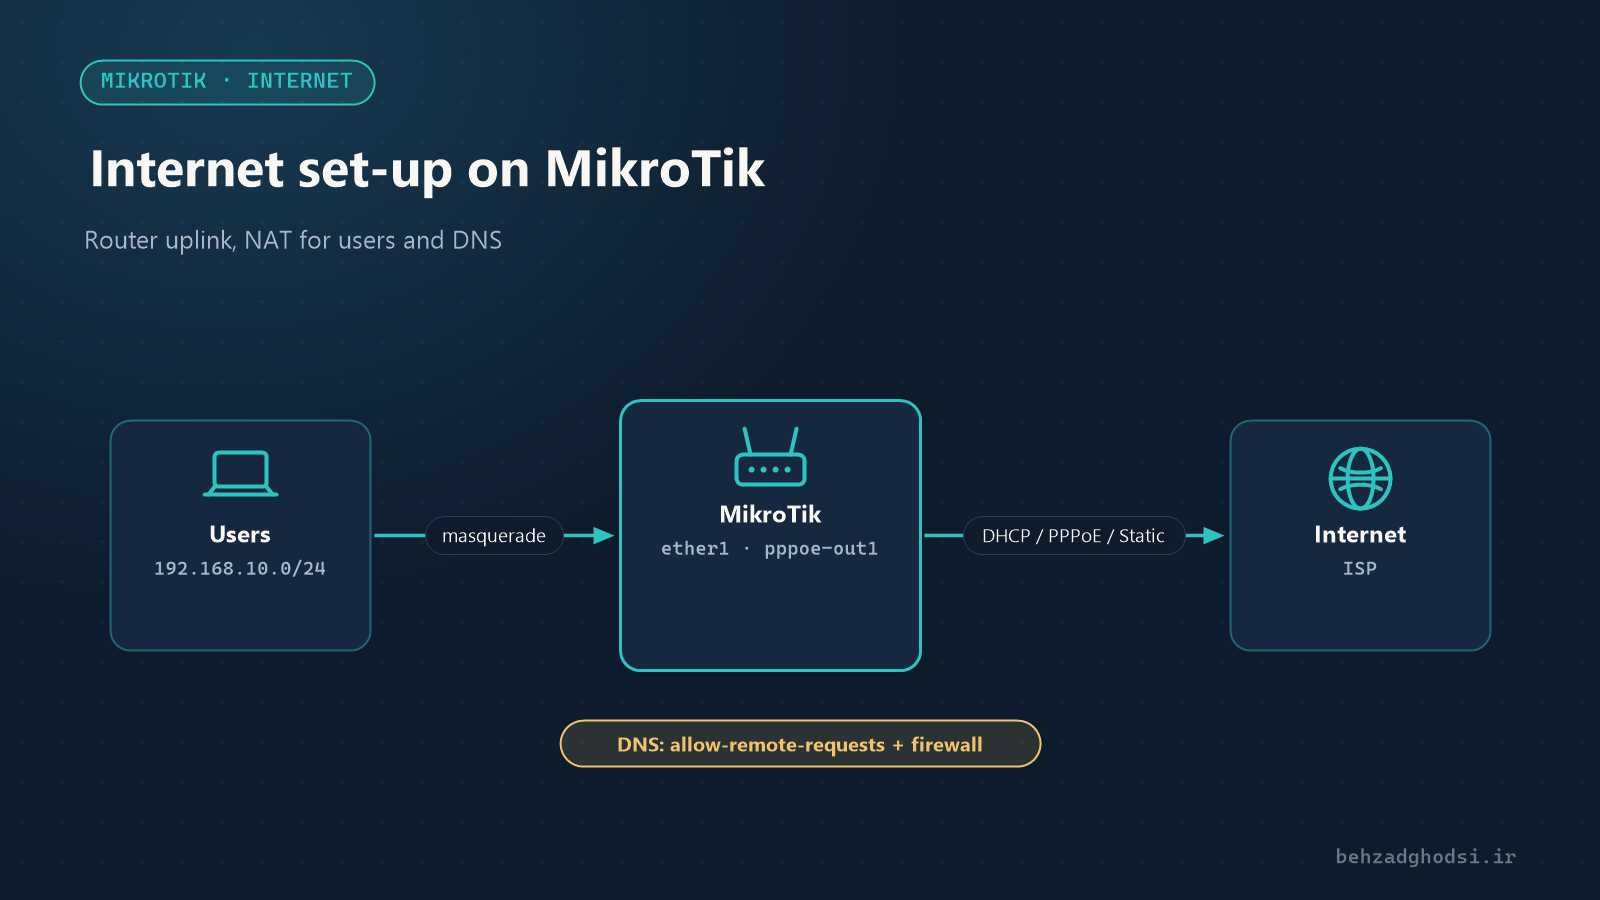
The router must already be connected to the internet, or to the network where the L2TP server is, for example through a modem with DHCP (see Internet set-up on MikroTik). First check that the server is reachable:
/ping l2tp.example-isp.ir count=4If the server does not answer ping, it may block ICMP. In that case just make sure its name resolves to an IP.
Step 1: a static route to the server
When L2TP is going to become the default route to the internet, you must make sure the connection to the L2TP server itself still goes over the base internet; otherwise the tunnel cuts off its own path once it comes up. Find the server’s IP and the current gateway:
/resolve l2tp.example-isp.ir
/ip route print where dst-address=0.0.0.0/0
and add a static route (replace the server IP and gateway with your own values):
/ip route add dst-address=203.0.113.50/32 gateway=192.168.1.1 comment="L2TP server via base internet"Step 2: create the L2TP client
Without IPsec:
/interface l2tp-client add name=l2tp-shatel connect-to=l2tp.example-isp.ir user=user123 password="Your-Pass" add-default-route=yes default-route-distance=1 use-peer-dns=yes disabled=noIf your provider requires IPsec:
/interface l2tp-client set l2tp-shatel use-ipsec=yes ipsec-secret="Shared-Secret-From-ISP"add-default-route=yesmakes the tunnel the default route. If the service is only for reaching a specific network, set this tonoand add that network’s route by hand.- If the previous default route (from the modem) still exists, give it a higher distance than the tunnel so the tunnel takes priority and traffic falls back to the old path if the tunnel drops.
Step 3: check the connection
/interface l2tp-client monitor l2tp-shatelconnected means the tunnel is up; the local and remote addresses are also shown. Look at the default route:
/ip route print where dst-address=0.0.0.0/0Step 4: NAT on the tunnel
Internal users must be NATed through the tunnel. The simplest way is to add the tunnel interface to the WAN list:
/interface list member add list=WAN interface=l2tp-shatelIf masquerade is defined on out-interface-list=WAN, you are done. Otherwise:
/ip firewall nat add chain=srcnat out-interface=l2tp-shatel action=masquerade comment="NAT via L2TP"Step 5: MSS clamping
Tunnels do not accept packets larger than their limit. A common symptom: some websites do not load completely even though ping works. The fix is to adjust the MSS automatically for traffic leaving through the tunnel:
/ip firewall mangle add chain=forward protocol=tcp tcp-flags=syn out-interface=l2tp-shatel action=change-mss new-mss=clamp-to-pmtu passthrough=yes comment="MSS clamp L2TP"Troubleshooting
Check the L2TP logs:
/log print where topics~"l2tp"- Authentication failed: check the username, password and account status with your provider.
- The tunnel connects and then drops: check the static route to the server (step 1).
- It will not connect with IPsec: check the pre-shared key and make sure the modem or firewall is not blocking
UDP 500andUDP 4500. - The tunnel is up but users have no internet: check NAT on the tunnel and DNS.
- Some websites do not open: apply step 5 (MSS).
With an L2TP client on the MikroTik, the whole network uses the L2TP service and nothing has to be configured on individual computers. Four things have to be right: the correct values from your provider, a static route to the server, NAT on the tunnel and MSS clamping. Before making changes, back up the router.